Partition Mac Disk For Windows В© 2019
Partition Mac Disk For Windows
Format a disk for Windows computers using Disk Utility on Mac. In the Disk Utility app on your Mac, choose View > Show All Devices. In the sidebar, select the disk or volume that you want to format to use with Windows computers. Click the Erase button, click the Format pop-up menu, then choose one of the following. If you dual-boot your Hackintosh, you've probably noticed that Windows can't read hard drive partitions used by Mac OS X. Mac OS X uses the HFS+ hard drive format, which Windows doesn't support. Luckily, you can enable HFS+ support on Windows with the help of one or two Windows drivers (depending on your budget).
This answer explains how to format a drive in the exFAT or FAT32 file system. This allows the drive to be used on both Windows and macOS.*END A Western Digital external hard drive can be used on both Windows and macOS. Youtube video recorders for mac. This is useful if a drive is being used under both to move files between the two environments.
Most WD Drives come formatted in the NTFS (Windows) or HFS+ (macOS) format. For a hard drive to be able to be read from and written to on both a Windows and macOS computer, it must be formatted to or file format. FAT32 has several limitations, including a 4 GB per-file limit. This is a file system limitation that affects both macOS's and Window's, and the only workaround is to format the drive to exFAT. For more information about what these limitations are please see.
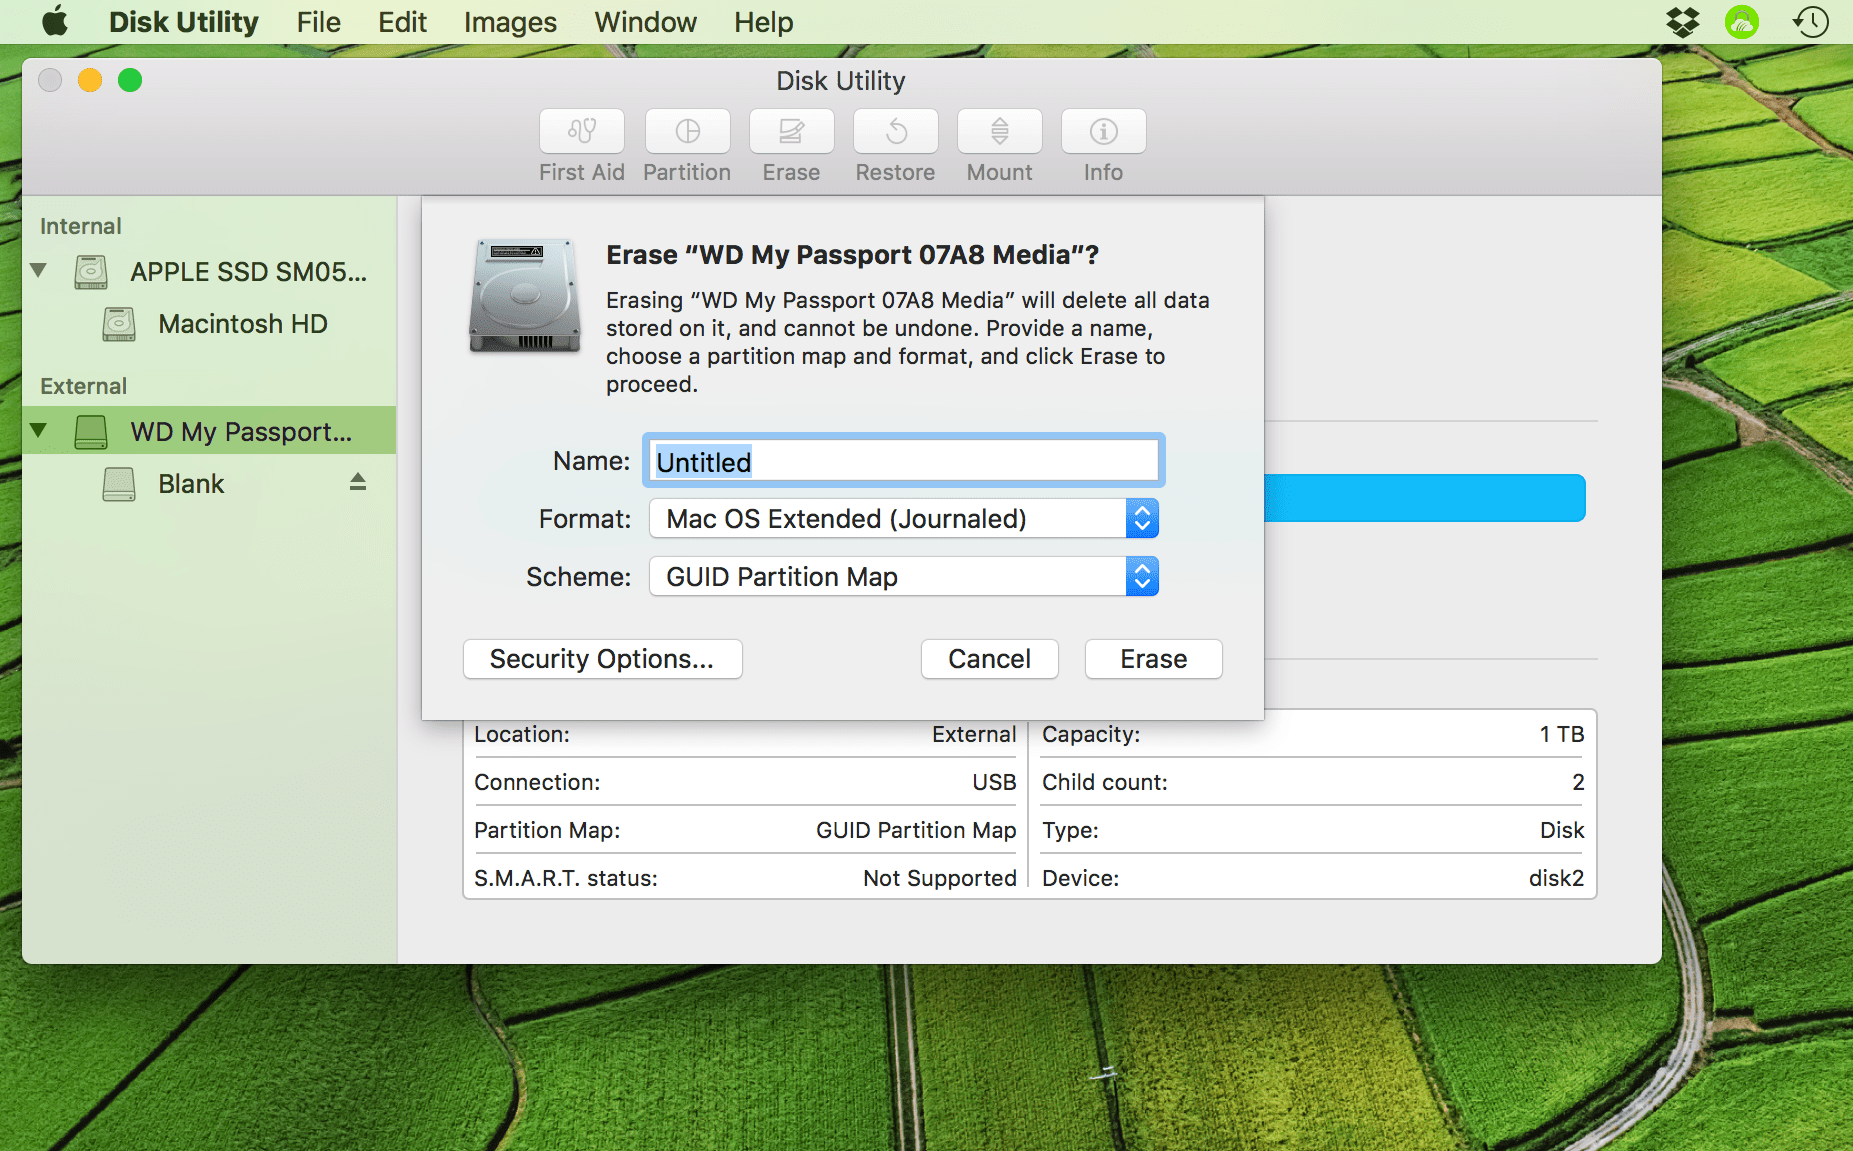
The easiest way to format the drive to or is by using macOS's built-in Disk Utility for FAT32, or both macOS and Windows' built-in tools, Disk Utility or Disk Management respectively for exFAT. Critical: Never attempt to connect any external drive to multiple computers at the same time. This could quickly damage the drive's partition and corrupt the data on the drive. ExFAT in macOS 10.11 (El Capitan) and above There are two easy ways to format a drive to use is by using macOS's built-in Disk Utility; using Erase (Step 4) or Partition (Step 7). For instructions on how to do this, please see the instructions below: • Connect the WD drive to the Mac computer. • Double left-click on the Mac HD, the internal Mac hard drive visible on the top-right corner of the desktop screen. Choose Applications from the left-side panel.
From the Applications folder, open Utilities, and lastly double-click on Disk Utility. • Disk Utility will now be open. From the left-side pane, choose the drive that is to be re-formatted. Typically there are two listings for each drive unless more than one partition exists on a particular drive. Choose the drive listing that is farthest to the left (Not indented) for the drive to be formatted. It is usually directly above the name of the drive.