Add Target Line To Excel Chart For Mac
Nov 21, 2013 - In fact, it is almost too easy--as I learned from teaching beginning Excel students over the years. They could whip up a chart in minutes, adding. Excel - add target line to stacked bar chart. Ask Question 0. If this was a simple bar chart I could add the target scores as new series and use the line chart type but I don't seem able to overlay a second series on the stacked bar chart. MS Excel - adding line to some series in stacked bar chart.
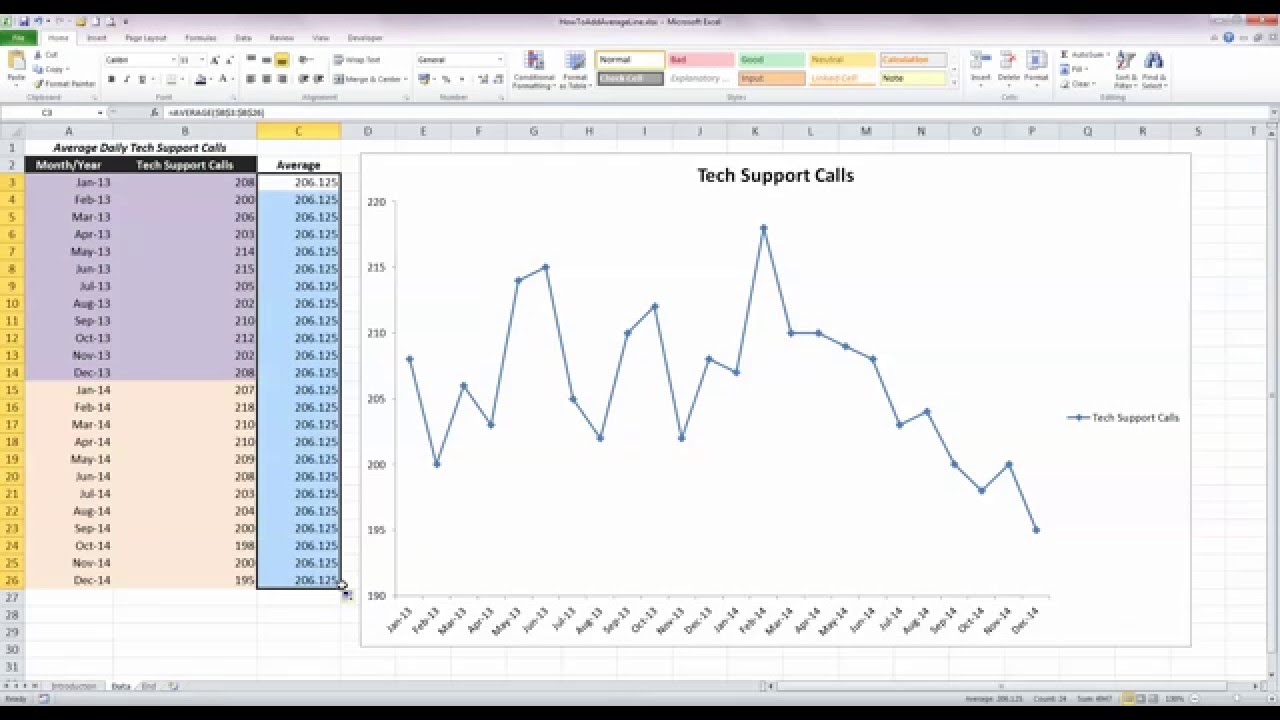
If you work involves reporting the actual and target data, you may find it useful to present the actual values versus the target values in a chart in Excel. For example, you can show the actual sales values versus the target sales values, or the satisfaction rating achieved versus the target rating. There can be multiple ways to create a chart in Excel that shows the data with Actual Value and the Target Value.
Mac Pro introduced in early 2008 or later Xserve models introduced in early 2009. To find your Mac model, memory, storage space, and macOS version, choose About This Mac from the Apple ( ) menu. If your Mac isn't compatible with OS X El Capitan, the installer will let you know. Eclipse for mac el capitan download. Installation of Eclipse on Mac OS X is very simple, the procedure is similar for installing it on Mac OS X El Capitan 10.11, or Mac OS X Yosemite 10.10. See the steps given below to download & install Eclipse on Mac.
Here are the two representations that I prefer: In the chart on the left, the target values are shown as the wide gray bar and achieved/actual values are shown as the narrow blue bar.  In the chart on the right, the actual values are shown as the blue bars and the target values are shown as red markers.
In this tutorial, I will show you how to create these two actual vs target charts. #1 Actual vs Target Chart in Excel – Target Values as Bars This chart (as shown below) uses a contrast in the Actual and Target bars to show the whether the target has been met or not.
It is better to have the Actual Values in dark shade as it instantly draws attention. Here are the steps to create this Actual vs Target chart: • Select the data for target and actual values. • Go to the Insert tab. • In the Charts Group, click on the ‘Clustered Column Chart’ icon.
• In the chart that is inserted in the worksheet, Click on any of the bars for Actual Value. • Right-click and select Format Data Series • In the Format Series pane (a dialog box opens in Excel 2010 or prior versions), select ‘Secondary Axis in the Plot Series options. • Your chart should now look somewhat as shown below. • Now, select any of the Target Value bars (simply click on the blue color bar), right-click and select ‘Format Data Series’. • In the ‘Format Data Series’ pane (or dialog box if you’re using Excel 2010 or prior versions), lower the Gap Width value (I changed it to 100%). The idea is to increase the width of the bars to make it wider than normal.
• Your chart should look as shown below. • ( Optional Step) Select any of the Actual Value bars. Right-click and select Format Data Series.
Make the gap width value 200%. This will reduce the width of the actual value bars. • Click on the secondary axis values on the right of the chart and hit the Delete key. • Now your chart is ready. Format the chart. Shade the Target values bar in a light color to get a contrast.
Here is what you will get as the final output. Note that it’s better to have a color shade contrast in target and actual values. For example, in the chart above, there is a light shade of blue and a dark shade of blue.

If you use both dark shades (such as dark red and dark green), it may not be legible when printed in black and white. Now let’s see another way to represent the same data in a chart.
Try it Yourself. Download the File #2 Actual vs Target Chart in Excel – Target Values as Marker Lines This chart (as shown below), uses marker lines to show the target value. The actual values are shown as columns bars.
Here are the steps this create this Actual Vs. Target chart in Excel: • Select the entire data set. • Go to Insert the tab. • In the Charts Group, click on the ‘Clustered Column Chart’ icon. • In the chart that is inserted in the worksheet, click on any of the bars for Target Value. • With the target bars selected, right-click and select ‘Change Series Chart Type’.
• In Change Chart Type dialogue box, select Line Chart with Markers. This will change the target value bars into a line with markers. • Your chart should look something as shown below. • Select the line, right-click and select Format Data Series. • In the Format Series pane, select ‘Fill & Line’ icon. • In the Line options, select ‘No Line’.